Install Process
How a trench drain goes in
Six on-site steps from the first cut to a flush, water-tight finish. Same sequence on every job — what changes is length, materials, and crew size.
-
01
Plan & Mark

- Identify water flow direction
- Mark full drain run across the opening
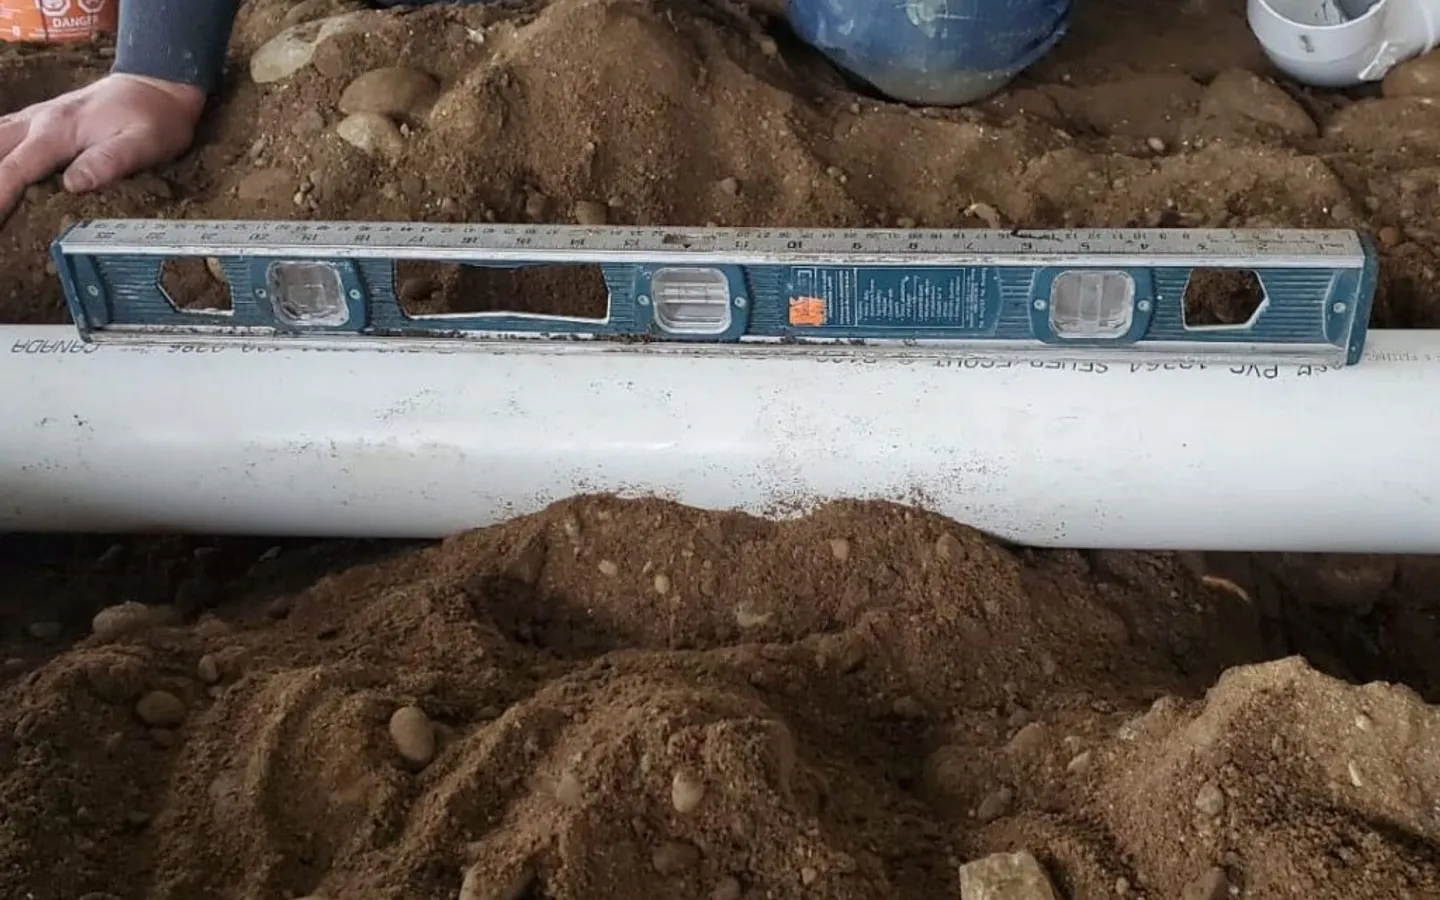
- Confirm outlet location and slope (~1%)
-
02
Excavate Trench

- Cut and remove concrete or asphalt
- Trench wider and deeper than the channel
- Maintain consistent slope toward the outlet
-
03
Prepare Base

- Add compacted gravel or concrete base
- Set elevation using string line or laser
- Base supports full channel length
-
04
Install Channel

- Place channel sections across full trench
- Connect end-to-end with no gaps
- Align slope and elevation across the run
-
05
Concrete & Backfill

- Pour concrete around both sides of channel
- Maintain proper thickness and support
- Finish surface flush with surrounding slab
-
06
Grate & Finish

- Secure the grate into the channel
- Ensure flush finish with the slab
- Final check: water flows cleanly into drain
Coverage
Neighbourhoods we serve in Aurora
- Aurora Estates
- Bayview Wellington
- Hills of St. Andrew