
Existing private drainage
If we are tying into your existing storm line, sump pump discharge, or dry well, there usually is not a separate permit required for a residential driveway drain in the GTA.
Water pools at your garage door because the driveway slopes toward the house. A trench drain catches it before it reaches the slab — cut in clean, tied into your existing drainage, done in a day.
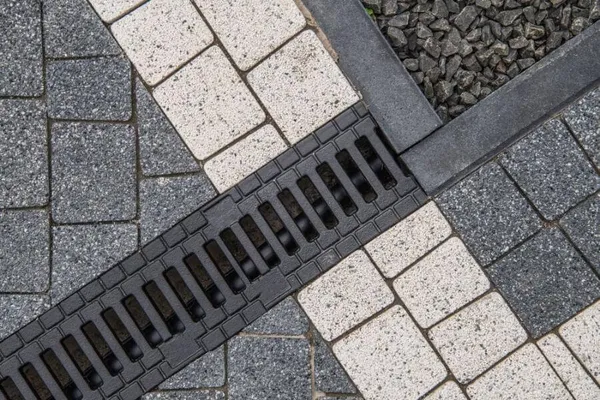
If your driveway has a negative slope — even a mild one — surface water runs toward the garage. In the GTA, that water freezes in winter, pools in spring, and undermines the slab year-round.
Meltwater refreezes overnight into a hazard strip right at the entrance. The door seal fails first, then the door itself.
Freeze-thaw cycles at the slab edge break apart concrete that's saturated with standing water. Once it starts, it accelerates every winter.
Rain heavy enough to overwhelm your driveway's grade ends up on the garage floor. Drywall damage and rust on anything stored at floor level follow quickly.
Persistent water against the foundation wall migrates through cracks. On older homes it shows up as damp basement corners or a chronic musty smell.
Residential driveway drains need to handle vehicle weight, freeze-thaw, and the occasional winter salt bath. These specs hold up for most GTA properties.
For heavy vehicles (RV, trailer, commercial van), we spec Class C or higher. Salt-exposed installs get stainless hardware — a small up-charge that saves replacement in year eight.
We put the drain at the real low point, then tie it into drainage that can legally take the water.
We cut a 4–6 inch channel across the low point of the driveway — usually right at the garage entrance or along a property-line edge. The drain sits flush with the finished surface, ties into your existing storm line or sump discharge, and the concrete is patched the same day.
The exact placement depends on where water actually ends up. We read the existing stains, efflorescence, and slope breaks on the slab, then put the drain where runoff is going — not where it seems intuitive. A drain in the wrong spot is expensive landscaping.
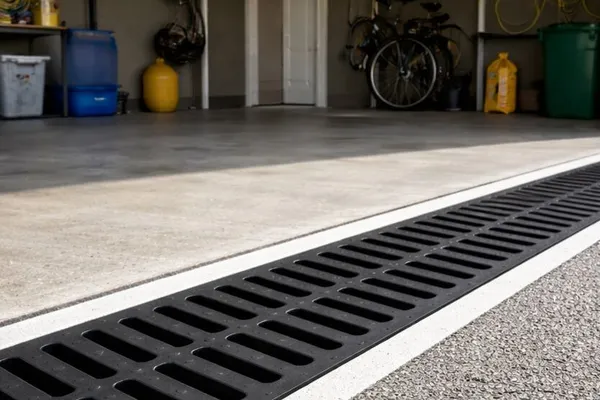
Most driveway drains are a one-day job on site. We cut, excavate, set the channel, make the tie-in, and patch the apron in the same visit. By end of day the drain is in and the area is walkable. Vehicles stay off it for 24–48 hours while the patch cures.
Dust-controlled, water-fed blade so the cut stays clean and the slab edge does not blow out.
We dig to grade, clean out loose material, and compact the sub-base so the drain has a stable bed.
The run gets a consistent 1–2% fall so water keeps moving instead of sitting in the trough.
We connect to existing storm, sump, or daylight discharge and pressure-check the outlet path before patching.
Concrete or asphalt is finished to match the surrounding apron so the drain sits flush and traffic rolls over it cleanly.
The permit question depends on where the outlet goes. Most residential jobs tie into drainage already on the property. Municipal storm connections are different, and sanitary sewer tie-ins are off the table.
If we are tying into your existing storm line, sump pump discharge, or dry well, there usually is not a separate permit required for a residential driveway drain in the GTA.
If the only viable outlet is the municipal storm sewer, that connection needs a permit. We handle the paperwork and coordinate with the city.
We do not discharge driveway drains into the sanitary sewer. GTA municipalities prohibit it, and the backup risk to your own basement is real.
Typical residential driveway install, fixed-price quote after a free site visit.
Get a fixed-price quote after a free site visit — not a range.
Yes. We spec Class B or C grates for residential driveways, which are rated for passenger cars, SUVs, and light trucks. For heavier vehicles — RVs, commercial vans, trailers — we move up to Class D or E cast iron. The grate sits inside a reinforced channel body; the drain itself is stronger than the surrounding asphalt.
Most residential driveway jobs are one day on site — saw-cut, install, and pour all in one visit. The concrete or asphalt patch needs 24–48 hours to cure before vehicles can cross. Total time from your first call to a finished drain is usually two to three weeks, depending on how full our schedule is.
You can buy a channel drain kit at any big box store. What you can't DIY without making it worse: saw-cutting clean lines into existing concrete, matching slope to your drainage, and tying into the storm or sump side without creating a new leak point. If the drain goes in half a degree off-slope, it holds water instead of moving it. We fix a lot of DIY installs — usually cheaper to get it right the first time.
Three options, in order of most common: first, tied into your existing foundation storm line or sump pump discharge; second, a new connection to the municipal storm sewer (requires a city permit); third, daylight discharge to a lower point on your property — a dry well, swale, or sloped yard that can absorb it. We confirm which one is viable during the site visit.
Yes. We cut and install trench drains in interlocking pavers, exposed aggregate, and stamped concrete. Pavers get lifted carefully and re-set after the drain is in — the finish matches if we have a spare skid of the same paver, otherwise we'll source a match. Budget a day or two extra for paver work compared to plain concrete.
Yes — workmanship warranty in writing on every install. We also come back to inspect after the first heavy rain. If the drain isn't moving water the way it should, we fix it. The channel itself carries a manufacturer warranty (typically 10–25 years depending on material).
Trench drains installed at garage entrances capture runoff before it reaches the door.
View details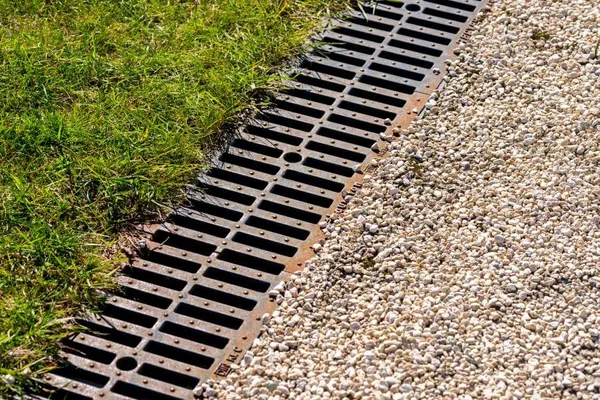
Low-profile surface drainage designed to protect finished outdoor spaces without altering elevations.
View details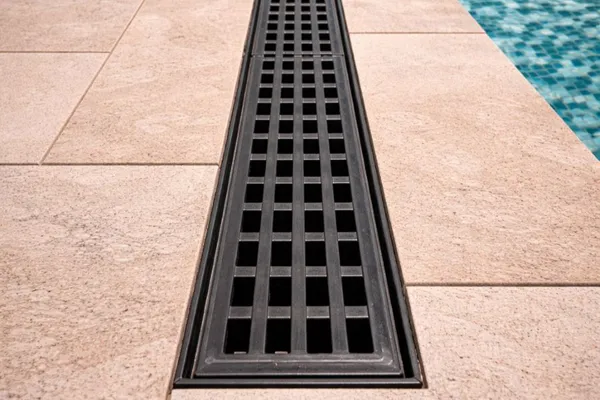
Low-profile drainage designed to manage splash water and seasonal moisture without disrupting recreation spaces.
View detailsFree site visit across the GTA. We'll tell you what you actually need — no upsell.